re post for missing article June 27th 2018
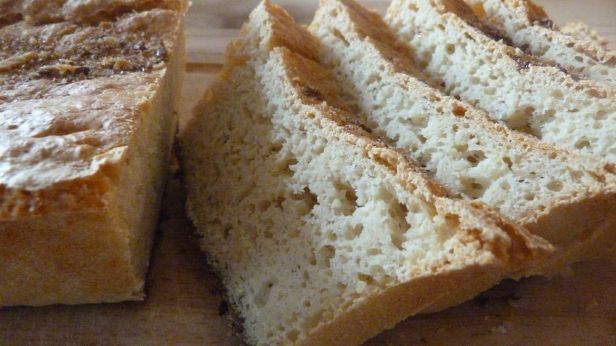
I have never been a fan of sourdough until I made my own and now I am a convert. This post is a following post to the previous one ‘Making a brown rice sourdough starter’.

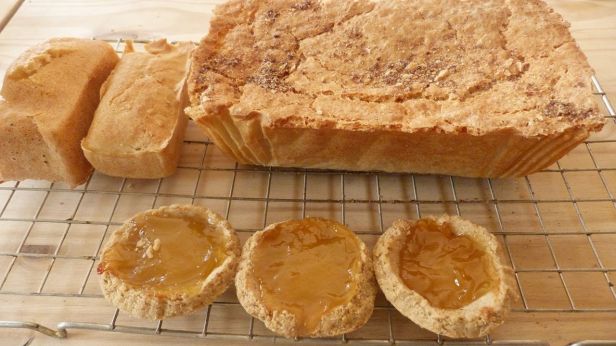
It slices well, freezes well and on a side note allows me to feel I can access staples again like having egg or beans on toast, may sound silly but it’s nice to rock out an old favourite now and again.
Also mops ups all those lovely olive oil and herby juices I have on my fish and salads and is great with feta cheese and olives.
If you have a favourite way to eat sourdough please do add them to comments.
If you have a favourite way to eat sourdough please do add them to comments.
Because this recipe has yeast in it it will have a milder taste, but you can leave the yeast out if you prefer and have a truer sourdough taste, but you will need to let the loaf prove for an extra 1 & 12 hours.
To Begin:
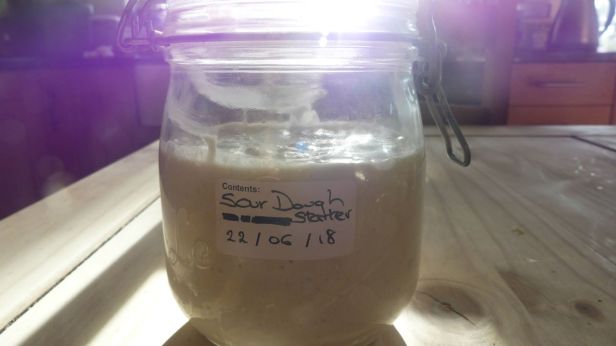
Refresh your sourdough starter with 75 g of rice flour and 100 g of warm water one hour before it is needed to make the sponge for the first stage.
1st stage- To make the sponge
200 g of brown rice starter
125 g rice flour
300 g tepid water
25 g buckwheat flour
25 g sorghum flour
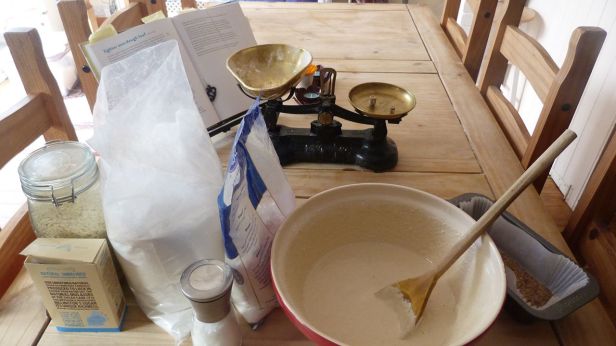
Method:
Mix all the ingredients together in a bowl and leave loosely covered in a warm place until it starts to bubble, approximately 2-4 hours or it can be left overnight in a cool place if you want a stronger sourdough taste. I let mine sit for 4 hours set on a wine making heat pad.
2nd stage- Making the Sourdough:
8 g quick yeast
100 g potato starch
100 g tapioca starch
25 g millet flour
25 g ground linseed
25 g salted butter softened and extra if greasing
1 large egg (free range )
15 g Muscovado sugar, optional. Adding sugar softens the sourness from the starter and gives a milder flavour to the bread.
7 g ground sea salt
1 teaspoon of cider vinegar
Refresh your sourdough starter with 75 g of rice flour and 100 g of warm water one hour before it is needed to make the sponge for the first stage.
1st stage- To make the sponge
200 g of brown rice starter
125 g rice flour
300 g tepid water
25 g buckwheat flour
25 g sorghum flour
Method:
Mix all the ingredients together in a bowl and leave loosely covered in a warm place until it starts to bubble, approximately 2-4 hours or it can be left overnight in a cool place if you want a stronger sourdough taste. I let mine sit for 4 hours set on a wine making heat pad.
2nd stage- Making the Sourdough:
8 g quick yeast
100 g potato starch
100 g tapioca starch
25 g millet flour
25 g ground linseed
25 g salted butter softened and extra if greasing
1 large egg (free range )
15 g Muscovado sugar, optional. Adding sugar softens the sourness from the starter and gives a milder flavour to the bread.
7 g ground sea salt
1 teaspoon of cider vinegar


Method :
Add the yeast beating it into the sponge mix. Leave and let stand for 15 minutes.
Line the loaf tin or butter the inside. I use a bread tin liner and find it invaluable for this type of baking. Spread the linseed out at the base of the tin, you can also add some to coat the bread as well. Pour the sponge mix into the the tin and tap it to level it out.
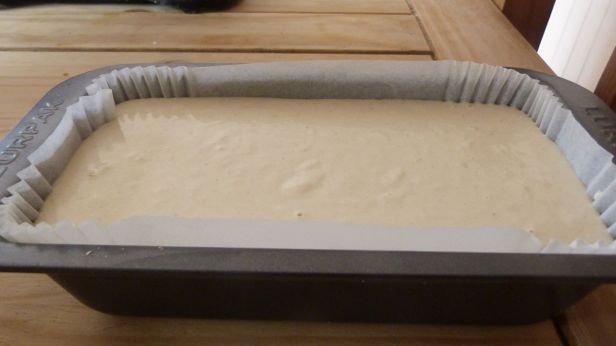

Leave to rise uncovered in a warm place for 1-1&1/2 hours until the dough has risen about a third and little cracks appear in the surface.
As we have large dogs in our house we lightly kept a muslin cloth suspended just above the tin to keep it hygienic.
After 1 hour check to see how it is doing, ours was rising very quickly and so we only left it another 15 minutes before transferring to a hot oven with a roasting pan of hot water placed at the bottom of the oven filled with water to create a steamy atmosphere which gives the bread a thin crisp crust and encourages it to swell. It had risen so well the mixture had spilled over which I caught and filled two mini tins with.

It is important not to give any sharp knocks as you transfer the tin to the oven as any sharp knocks may cause it to collapse because there is no gluten in it to give it structure.
Place into a preheated oven gas mark 8 /Fan 210 C / 230 C for 15 minutes then turn the oven down to gas mark 6 / Fan 180 C / 200 C for 45 minutes covering with foil if the top browns too quickly.
When done remove from oven leave to cool a little then turn out onto a cooling rack. Leave until completely cooled before slicing. It will keep well for 24 hours after which it is best to cut into slices wrap in foil and keep in the freezer until needed.